CUT to YOU | Beach Days 🏝️

Hey there everyone!
Well, do I have some super inspiration for you today, all thanks to a whoopsie whilst cutting my cut file!
For some reason, no idea why, my Silhouette chose to not cut this cut file correctly the first time. I was so disappointed but as it turns out…. all’s well that ends well.

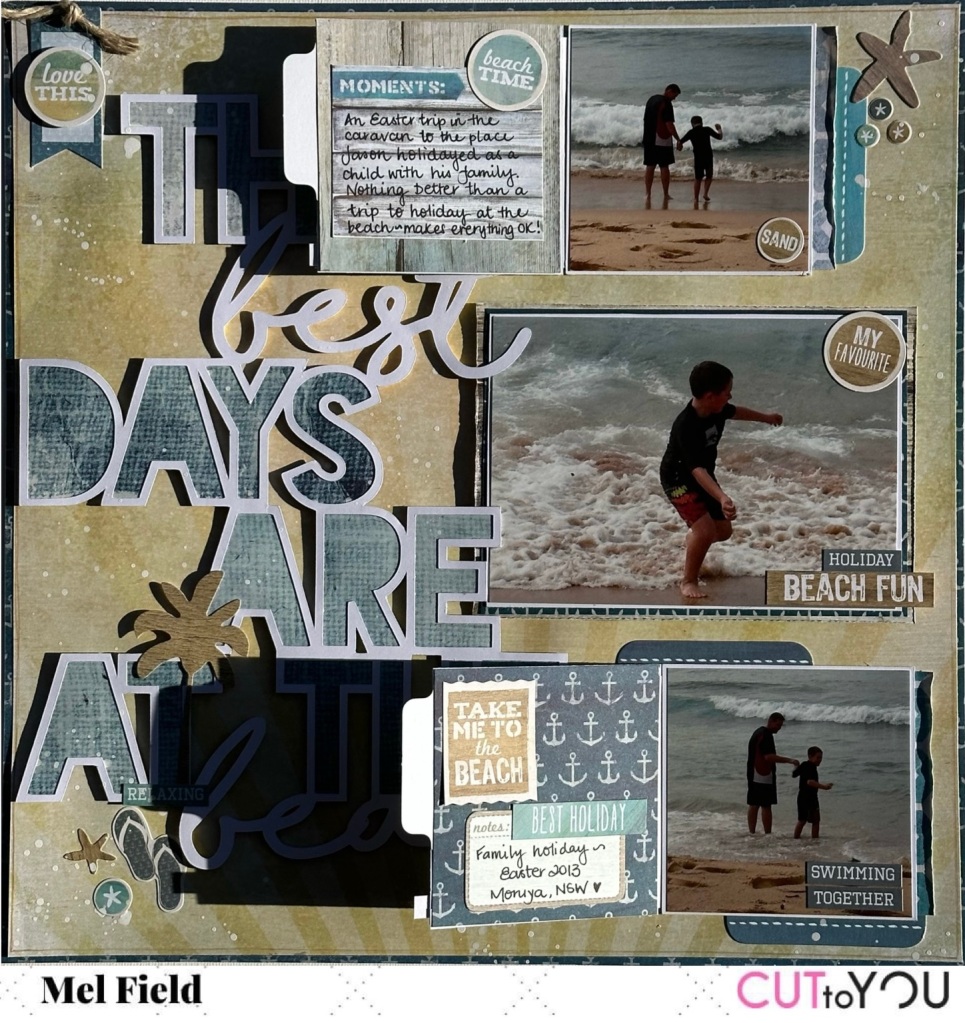
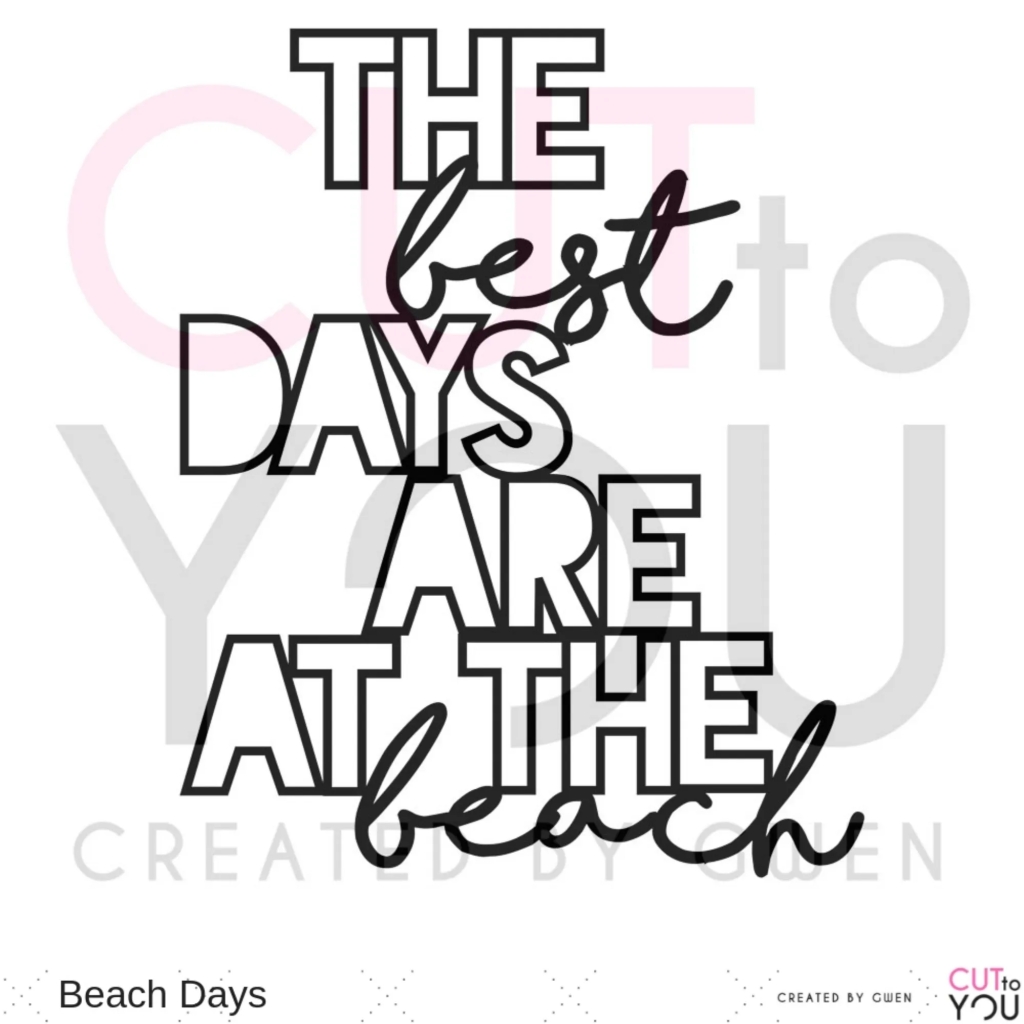
For this project, I have used the really cool title cut file from CUT to YOU called “Beach Days”
It is the perfect cut file for those beach layouts but also those layouts that you have limited embellishments to use. I have used an old Kaisercraft collection, Sandy Toes, from my stash for this layout, I have limited supplies of it left but with this cut file, it really didn’t matter.
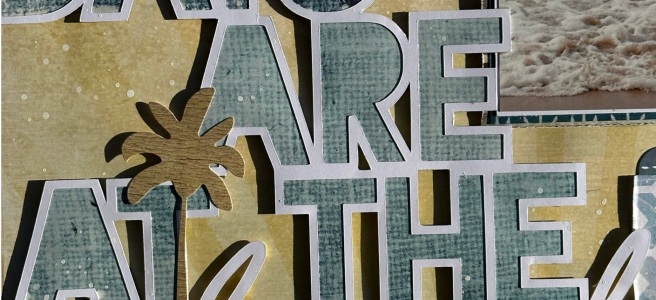
I have backed the cut file simply with some of the patterned papers from the collection. I have used three photos on the front of this layout, which I have also backed with the patterned papers and made two of them into a flip-out to include two more photos. So a total of five photos altogether.

I have included my journalling inside one of the flip-outs and embellished using some stickers and tiny word phrases from the Kaisercraft Sandy Toes collection.
I have embellished the main layout with some stickers, a palm tree, some thongs, and starfish all from this same collection (job made easy).
I added a little tag in the top left corner and finished the layout with some white splatters using 13@rts - Acrylic Ink. A simple and easy project that tells part of the story of an Easter holiday trip to the beach....oh how life has changed...what actually are holidays???

Now, I told you that there was double the inspiration today….all because my cut file didn’t cut correctly.
So what do you do when this happens?
Well, I decided to make use of the parts that I could.
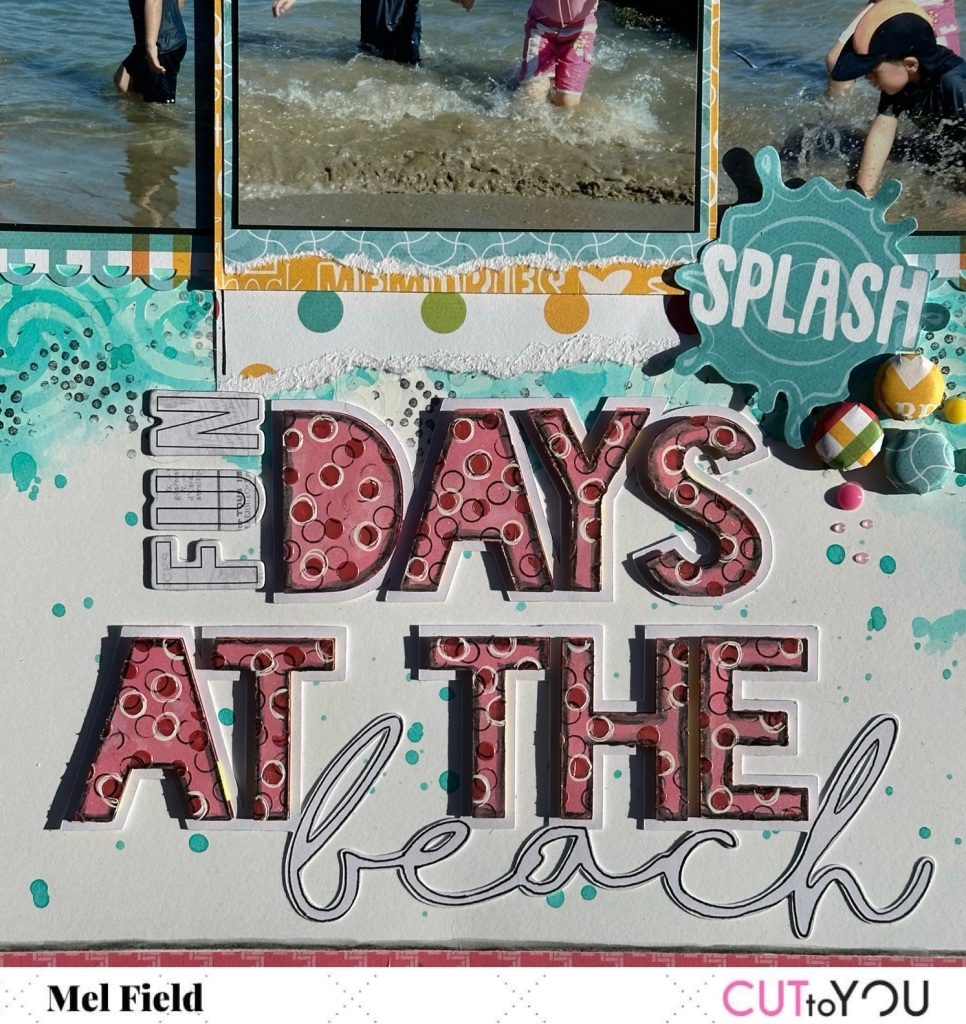
I used the words Days At The Beach from the cut file and created a new title adding some AC Thickers - Paperwork. To connect the word beach in the cut file I used a black gel pen outline.
Here is the second layout that I created…

I have created my own patterned paper for the cut file title using the insides of the cut file and some pink acrylic paint. I added some texture using the Heidi Swapp Metallic Texture Paste - Pink through the Vicki Boutin - Colour Study Bubbles Stencil. I also stamped using Visible Image - Grunge Tones stamp with Black Archival Ink. I then popped them up using foam tape and added some white gel pen around some of the textured circles.
I just love how these turned out.

I have created a mixed media background with some Lindy's Magicals - Sassy Sapphire and Alpine Ice Rose which I just added to my Vicki Boutin Foundations Cardstock using the packaging technique. I then created some depth using white acrylic paint and the Vicki Boutin Sweet Rush Stencil - Making Waves and some stamping with Black Archival Ink and the Funky Fossil stamp - Claire's Dots by Art Journal Love.
Then I delved into my stash and used another tool, the Imaginisce iTop Tool, which I haven’t used in a while to make my own brads using the matching paper from the Photo Play - Summer Bucket List collection that I have used. How cool do they look?

Some little clusters with brads, and enamel dots using some Simple Stories - Colour Vibe Brights and some Nuvo Gel Drops, to finish the layout. I have added a hidden journalling card behind the main photo to make this project work perfectly.
Who would even know that it all came about from a whoopsie with my cutting machine??

I am so happy with how these two projects came together. I love all of the little features to look at and most of all the stories and memories that they represent and document.
And all of this is made easy with the use of the versatile title cut file Beach Days from CUT to YOU.
Make sure you head to the store and grab yours and then join us on Gwen’s Friends on Facebook to share what you create.
Thank you for popping by my blog today...I hope this has brought you some inspiration 💕
Happy creating,
Mel xo


Comments